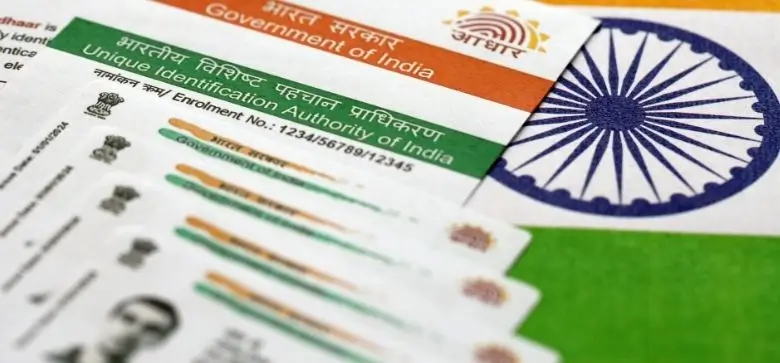
Here is how to quickly check if your mobile number is linked to your Aadhaar.
The Aadhaar card is one of the most significant government identity documents issued in India. It has the personal information and fingerprints of the holder. People may want to change some of their information, including their photographs, under certain circumstances.
There are two ways to update Aadhaar details: by Self Service Update Portal (SSUP) or by going to an Aadhaar Enrolment Centre. The below section of the guide will contain a step-by-step guide on how to change the photo on theAadhaar card.
Changing a photograph in Aadhaar is very easy, but you have to visit the Aadhaar Enrolment Centre or the Aadhaar Sewa Kendra. Here are the steps on how to change your photo on your Aadhaar card:
Go to the nearest Aadhar centre/Aadhar Sewa Kendra. The location of the nearest centre can be obtained from the UIDAI website.
Visit the official website of UIDAI and download the Aadhaar Enrolment/Correction/Update Form. Or you can obtain the form from the enrolment centre.
Carefully complete the form in order to fill in all the necessary information. Ensure you tick the relevant box for photograph updates.
After filling up the form, hand it over to the executive at the enrolment centre.
The executive will capture your live photograph with the help of a webcam.
You will be required to give your biometric again for the changes to be approved.
For the update, a fee of Rs. 100 will be charged. This fee is non-refundable, and it pays for the biometric photograph and other information update on the facility.
After going through the above process, you will receive an Acknowledgement slip with the update request number (URN). This number can be used to find the Status of Aadhaar update.
The other process from which you can correct details held in the Aadhaar database is via the SSUP portal:
Go to your browser to the Self Service Update Portal (SSUP) and click on the ‘Update Your Aadhaar’ link.
Enter your 12-digit Aadhaar number and the captcha code.
Next, click ‘Send OTP’ to receive the One-Time Password on the registered mobile number.
You will then be directed to a page that contains a detailed list of the fields you are allowed to edit including name, address, date of birth, gender, mobile number, and email address.
Right-click in the cell of the field you want to select or right-click the desired field’s label in the area you defined for the fields.
When filling in the new details, be precise. Make sure that the information you provide is correct and corresponds to the documents you will scan and attach.
Scan and upload the documents that need to be provided in order to support the stated changes. Ensure that the documents are of good quality and can be easily comprehended.
Go through all the details and files you uploaded. After you have carefully entered all the information, click on the ‘Submit’ button.
Once you submit your application, then you will be provided with an update request number (URN). Safeguard this number because you can use it to know the progress of your update request.
The UIDAI will then authenticate all the information, and documents. Once the update is done, confirmation of your Aadhaar details will be successful and you will receive a message.
After you learn how to update the photo on your Aadhaar card, you can follow its status by using URN in the acknowledgement slip. Follow these steps to check the status:
Go to the official UIDAI website.
Under the tab ‘Retrieve Lost or Damaged UID Token’, go to ‘My Aadhaar’.
Under the ‘Aadhaar Update’ tab, click on ‘Check Aadhaar Update Status’.
Type in the URN you have and the captcha code on the screen.
Click on ‘Submit’ at the bottom of the page. The status of the Aadhaar update request will be displayed on the screen.
Over the years, people might need to learn how to update the photos on their Aadhaar cards for identification purposes. Here are some points related to updating your Aadhaar photo:
No Document Required:
Note that no documents are required if you wish to change the photo on your Aadhaar card. The executive only needs your permit photo, which they will take using a webcam.
Processing Time:
The changes may take time, up to one month for it to update the details on your Aadhaar. But it is usually processed much quicker.
URN Tracking:
The Aadhaar update status can be checked online by the URN mentioned in the acknowledgement slip.
No Online Photo Update:
As for the online process for modifying the photo, you cannot do it through the Self-Service Update Portal (SSUP) of the Aadhaar card.
The process of changing the photo on the Aadhaar is a simple process that ensures your identification remains accurate. With the help of these steps, it is ensured that the Aadhaar card has the present look.
To download your updated Aadhaar card, visit the UIDAI website, navigate to 'My Aadhaar', select 'Download Aadhaar', enter your details, complete the captcha, and verify with the OTP sent to your registered mobile number to get a PDF of your e-Aadhaar card.
Aadhaar Card Help and Update Guides
Best Personal Loan Resources
Credit Card Insights
Banking & Investment Tips
Tax, Filing & Linking Guide
Finance and Banking Articles
Disclaimer
The starting interest rate depends on factors such as credit history, financial obligations, specific lender's criteria and Terms and conditions. Moneyview is a digital lending platform; all loans are evaluated and disbursed by our lending partners, who are registered as Non-Banking Financial Companies or Banks with the Reserve Bank of India.
This article is for informational purposes only and does not constitute financial or legal advice. Always consult with your financial advisor for specific guidance.
Was this information useful?